Thanks for downloading Magnetic! We’ve designed this theme to be flexible and customizable. Developers can use the included Sass source files and Bootstrap 4 grid to customize the theme. The defaults should give you a good starting point if you are not a developer and are using the theme for a general website or blog. Those with front-end web development experience will be able to take the theme design further.
Installation
After you have downloaded the installable theme file, go to the Appearance > Themes portion of your WordPress site. From there, select Add New and then Upload Theme. Use the dialog box to select the file you downloaded and then select Install Now. From there, use the theme customizer under Appearance > Customize to set up Magnetic.
Classic Widgets
We recommend the Classic Widgets plugin to disable block widgets, and restore the classic widgets.
Customizer settings
You can change the Magnetic theme settings and set up the theme widget areas using the WordPress theme customizer under Appearance > Customize.
Site Identity
Use the Site Identity section of the customizer to upload a custom logo, change the title of your site, or add a tagline. If adding a custom logo, you may need to increase the spacing above the website navigation for alignment. We recommend creating a child theme and modifying the theme CSS using the included Sass files to fine tune your theme.
Magnetic theme supports a Site Icon which will display in browser tabs, bookmark bars, and WordPress mobile apps. Use a square icon at least 512 x 512 pixels.
Colors
In the Colors section, specify an alternate page background color if desired. If you want to change navigation or other text colors, create a child theme and modify the theme CSS using the included Sass files.
Background Image
Use the Background Image area to set a page background image.
Menus
This theme supports a menu in one location, the website header. Use the Menus section of the customizer to create and edit menus, and specify a primary menu in the website header.
Widgets
Use the Widgets section of the customizer to create the homepage sections, footer sections, and blog sidebar. The homepage has five rows of content. The first four rows are divided into equal left and right columns, designed for alternating images and text as seen in the Magnetic theme demo. The last section is designed for a call to action message and button. The home page content will appear above the widget sections. And if you don’t want to use the homepage widgets, you can leave them blank.
Homepage Sections
The Homepage widget areas are designed for an alternating series of images and text. The text columns have extra padding around the text widgets, and the image columns allow large images to fill the column.
The layout stacks well on mobile and smaller displays with an image on top, followed by the text. The columns are reordered on larger displays using the Bootstrap grid classes.
We recommend creating a child theme to modify the layout.
If the Homepage widget areas are not available in the customizer, you may have to change the Homepage Settings as described below, and navigate to the homepage from within the customizer.
Homepage 1 Left Column
The Homepage 1 Left Column widget area is designed for an image. Within the customizer, got to Widgets > Homepage 1 Left Column, select Add a Widget and find the Image widget. From there, you can add an image of your choosing. In order to have the widget fill the available area, make sure to use a large image, approximately 1500 pixels or wider.

Homepage 1 Right Column
The Homepage 1 Right Column widget area is designed for a Custom HTML or Text widget. The Magnetic theme demo uses a Custom HTML widget to display text and a button. Within the customizer Homepage 1 Right Column widget area, select Add a Widget and find the Custom HTML widget. Give the widget a title, and add the following HTML to match the demo. Customize to suit your website.

<p>Lorem ipsum dolor sit amet, consectetur adipiscing elit. Vivamus a semper libero. Vestibulum egestas, sapien sed porta accumsan, ex urna semper ante, quis sagittis neque ante sit amet dui. Nam vel urna eget nulla consectetur sagittis. Suspendisse aliquam, turpis sed suscipit volutpat, neque purus feugiat ex, dictum interdum metus ipsum in sapien. In gravida venenatis auctor. Fusce a vestibulum purus.</p>

<a class="btn" href="https://www.themedemo.app/magnetic/example-project/">Learn More</a>
Homepage 2 Left Column
The Magnetic theme homepage features alternating rows of images and text. To set up your website like the demo, follow the same steps as the Homepage 1 section for the rest of the homepage sections, and just alternate the images and text.
The Homepage 2 Right Column widget area is designed for a Custom HTML or Text widget. Follow the same steps above in the Homepage 1 Right Column.
Homepage 2 Right Column
The Homepage 2 Right Column widget area is designed for an image. Follow the same steps above in the Homepage 1 Left Column.
Homepage 3 Left Column
The Homepage 3 Left Column widget area is designed for an image. Follow the same steps above in the Homepage 1 Left Column.
Homepage 3 Right Column
The Homepage 3 Right Column widget area is designed for a Custom HTML or Text widget. Follow the same steps above in the Homepage 1 Right Column.
Homepage 4 Left Column
The Homepage 4 Left Column widget area is designed for a Custom HTML or Text widget. Follow the same steps above in the Homepage 1 Right Column.
Homepage 4 Right Column
The Homepage 4 Right Column widget area is designed for an image. Follow the same steps above in the Homepage 1 Left Column.
Homepage 5
The Homepage 5 widget area is designed for a Custom HTML or Text widget. The Magnetic theme demo uses a Custom HTML widget to display a text and a button. Within the customizer Homepage 5 widget area, select Add a Widget and find the Custom HTML widget. Leave the title blank, and add the following HTML to match the demo. Customize to suit your website.

Find out why we are the best. <a href="https://www.themedemo.app/magnetic/about/" class="btn">Learn More</a>Sidebar
The Sidebar widget area will appear on blog posts and archive pages. The Magnetic theme demo uses the standard WordPress widgets. To make your site match the demo, go to the Sidebar widget area and add the following widgets: Search, Recent Posts, Recent Comments, Categories, and a Text or Custom HTML widget. The Text widget includes basic contact info (see code below). The demo uses the default widget settings for each widget. If the Sidebar widget area is not available in the customizer, you may have to change the Homepage Settings as described below, and navigate to a blog page from within the customizer.
Phone: 123-123-1234
Email: <a href="mailto:"></a>
123 Main St.
Your Town, XY 12345Footer 1
The footer widget areas are three flexible columns designed to hold text content, latest posts, or other information. The theme demo uses a Custom HTML widget to display text and a button.
<p>Lorem Ipsum is simply dummy text of the printing and typesetting industry. Lorem Ipsum has been the industry’s standard dummy text ever since the 1500s, when an unknown printer took a galley of type and scrambled it to make a type specimen book.</p>

<a href="https://www.themedemo.app/magnetic/contact/" class="button btn">hello there</a>
Footer 2
The Footer 2 widget area uses a default Recent Posts widget.
Footer 3
The footer 3 widget area uses a text widget to display contact information.
Footer Text
The footer text widget area can be used to replace the default copyright text in the website footer. Select a text widget, leave the title blank, and specify your new text.
Homepage Settings
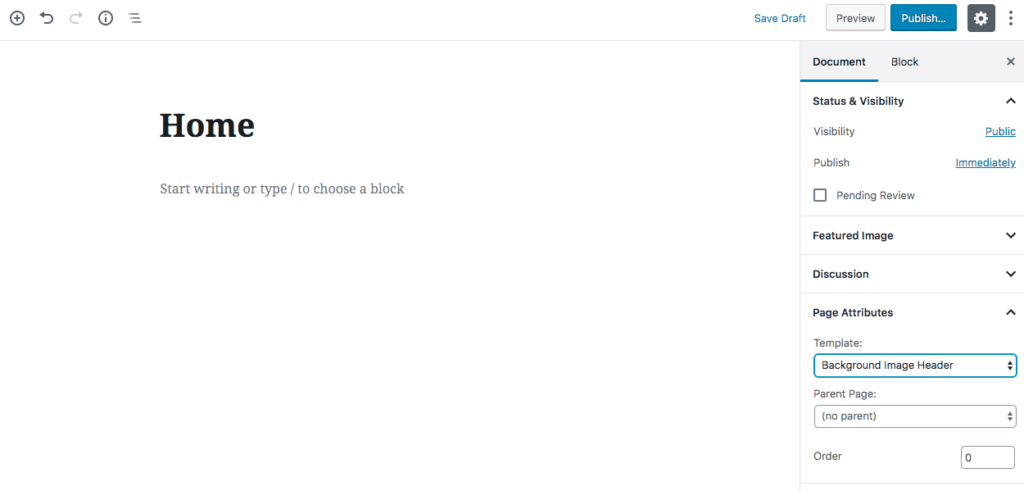
In order to take advantage of the homepage widget areas, first you need to create a home page. From the left-hand menu in WordPress, select Pages and Add New. Name your new page “Home” or something else. Make sure to select the Background Image Header as the template in the document settings.
Add your text. This will appear above the homepage widget areas.
This template makes use of a custom field. Enable custom fields with the following steps. Click on the three dot icon in the upper right, and select Options. From there, make sure Custom Fields is selected under the Advanced Panels heading.


Once the Custom Fields are active, you’ll need to add a field called, “lead” and specify the text content. This field will display below the page title in a typeface smaller than the heading, and larger than the body copy. It’s formatted as a second level heading in the HTML.

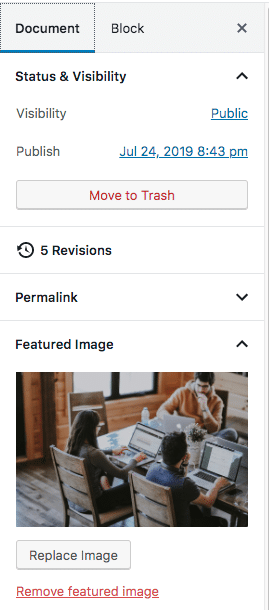
You’ll also want to specify a large Featured Image in the Document panel. The theme demo uses and image 2000 by 1333 pixels. Make sure to optimize your image file size.
After you have added a homepage, you’ll need to add another page for your posts. Add a blank page called Blog or something else. It doesn’t matter which page template you choose.
Once you have created a homepage and blog page, go back to the Customizer and select Homepage Settings. Under “Your homepage displays,” choose “A static page” and set the Homepage and Posts page drop-downs to the appropriate pages.

Page Templates
In addition to the default template, Magnetic includes the following custom page templates.
- Background Image Header
Large, full-width image header with page title and smaller lead text overlaying the image. No sidebar widget area. - Full Width
A page template optimized for the block editor and the wide-width and full-width blocks. - No Sidebar
Standard template without the sidebar widget area. - Default template
Standard template including the sidebar widget area.
The About, Contact, and Example Project pages were set up with the columns feature in the Gutenberg plugin. You may need to install the plugin to take advantage of this feature.
Featured Images
For the Background Image Header templates, make sure to set a Featured Image. This will appear as a page header background image behind the site title, navigation, page title, and custom lead field.
Theme Customization With Sass
Magnetic includes the SCSS source files for further customization. The theme is built using the _s framework. Review the src/scss directory to customize the theme further. You’ll need Node.js and a local development environment (beyond the scope of this guide). Assuming you have a local environment, here are a few steps to get started:
- Customize package.json with your details and repo.
- Run ‘npm install’ from the command line.
- See gruntfile.js for the build settings.
- Feel free to use Gulp or your preferred setup.
- Customize the Google fonts in functions.php, line 330.
- Set the “development mode” to true on line 312 in functions.php to avoid caching the CSS as you are working on it.
- The theme uses the Bootstrap 4 grid. The entire Bootstrap library is not loaded, just the grid. It’s included in the theme files as needed.
Child Theme
We are working on a child theme for download. In the meantime, see the WordPress documentation on child themes.
Gutenberg Support & Optimization
Gutenberg support has been added using the Gutenberg starter theme for reference. Use the included Gutenberg template to take advantage of the wide and full-width blocks. The other page templates won’t display the full-width or wide blocks any wider than the content column. The Gutenberg page template uses a narrower content column for these blocks.
Recommended plugins
See our resources page for plugin recommendations.
Recommended hosting
See our roundup of WordPress hosts for recommendations.